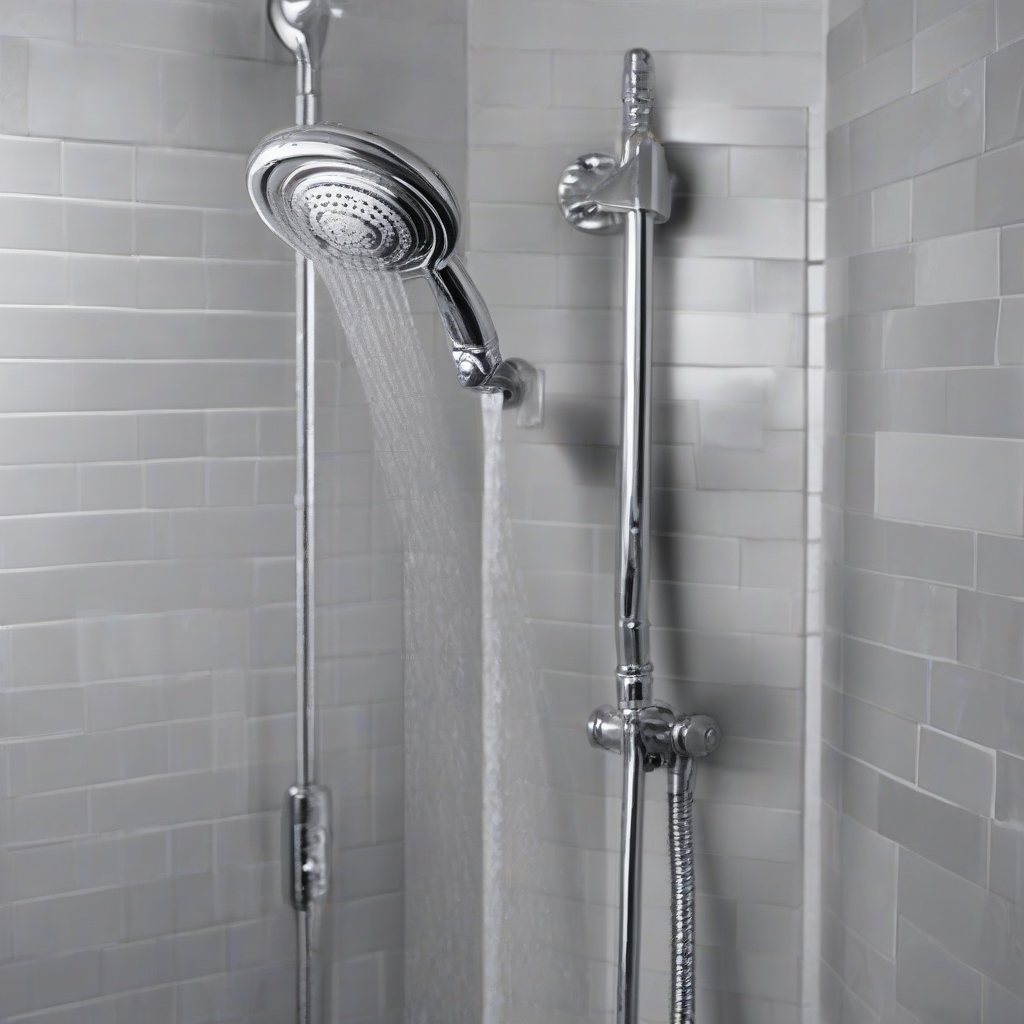
Shower Handle SOS: A Comprehensive Guide to Fixing Your Dripping, Leaky, or Broken Shower Faucet
A broken shower handle can be incredibly frustrating, turning your daily routine into a watery inconvenience. From a persistent drip to a completely non-functional handle, the problem can range from minor annoyance to a significant plumbing headache. This guide will walk you through diagnosing the issue and providing step-by-step solutions to get your shower back in working order.
Identifying the Problem: What’s Wrong with Your Shower Handle?
Before you start fixing anything, it’s crucial to understand the nature of the problem. Is the handle loose, dripping, leaking, completely unresponsive, or showing other symptoms? This will help you determine the appropriate course of action.
- Loose Handle: The handle moves freely but doesn’t control the water flow effectively.
- Dripping Handle: The handle is functional but water drips continuously, even when turned off.
- Leaking Handle: Water leaks from around the handle base or from the shower spout.
- Non-Responsive Handle: The handle doesn’t move at all or has no effect on the water flow.
- Temperature Issues: The shower water temperature is inconsistent or difficult to regulate.
Tools and Materials You’ll Need
Gathering the necessary tools beforehand will make the repair process much smoother. You might need some or all of the following:
- Screwdrivers (Phillips and flathead)
- Adjustable wrench
- Pliers (needle-nose and channel-lock)
- Basin wrench (for hard-to-reach nuts)
- Putty knife
- Plumber’s tape (Teflon tape)
- Replacement cartridge or O-rings (depending on your shower valve type)
- Bucket or towels (to catch water)
- Safety glasses
Step-by-Step Repair Guide: Common Shower Valve Types
Most shower handles are controlled by either a cartridge or a compression valve. The repair process differs slightly depending on the type of valve.
Fixing a Cartridge Valve
Cartridge valves are the most common type found in modern showers. They use a single cartridge containing all the internal components.
- Turn off the water supply: Locate the shut-off valves for the hot and cold water lines supplying your shower. Turn them clockwise to shut off the water completely.
- Remove the handle: Most handles are secured with a small screw hidden under a decorative cap. Remove the cap and screw, then carefully pull off the handle.
- Remove the handle trim plate: This plate covers the cartridge. It usually unscrews. Use pliers or a wrench if necessary.
- Remove the cartridge: The cartridge should be visible. It might be held in place by a retaining clip or a nut. Carefully remove the cartridge.
- Inspect the cartridge: Check for any signs of wear, cracks, or damage. If the cartridge is damaged, replace it with a new one that matches your shower valve.
- Clean the valve body: Use a putty knife or toothbrush to clean any debris or mineral deposits from the valve body.
- Install the new cartridge: Insert the new cartridge into the valve body, ensuring it seats correctly.
- Reassemble the shower handle: Carefully reinstall the handle trim plate, handle, and decorative cap.
- Turn the water supply back on: Slowly turn the shut-off valves counter-clockwise to restore the water supply.
- Test the shower: Check for leaks and proper water flow and temperature control.
Fixing a Compression Valve
Compression valves are older style valves and are less common in modern homes. They use separate stems for hot and cold water control.
- Turn off the water supply: As with cartridge valves, shut off the water supply to the shower.
- Remove the handle(s): Compression valves often have separate handles for hot and cold water. Remove each handle by unscrewing it.
- Remove the packing nut: This nut is located beneath the handle. It secures the stem and packing. Use an adjustable wrench or basin wrench to loosen and remove it.
- Replace the packing: The packing is a rubber washer that seals the stem. Replace worn or damaged packing with new packing material.
- Reassemble the valve: Replace the packing nut, and then reattach the handle.
- Turn the water supply back on: Slowly turn the water supply back on, and check for leaks.
- Test the shower: Check for leaks and proper water flow and temperature control.
Troubleshooting Common Issues
- Persistent Dripping: This often indicates worn O-rings or a faulty cartridge. Replace the O-rings or the entire cartridge.
- Low Water Pressure: Check for clogged showerhead, a faulty valve, or restricted water lines.
- Inconsistent Water Temperature: This could be due to a faulty cartridge, a problem with the mixing valve, or a sediment buildup in the valve.
- Handle Doesn’t Turn: The handle may be seized due to mineral buildup or corrosion. Try lubricating the mechanism with a penetrating oil before attempting to remove it.
When to Call a Plumber
While many shower handle repairs are manageable DIY projects, there are situations where it’s best to call a professional plumber:
- Extensive leaks: If you have significant water damage or cannot stop a leak, call a plumber immediately to prevent further damage.
- Complex valve issues: If you are unable to identify the valve type or the repair process is beyond your skill level, it’s safer to call a plumber.
- Severe water damage: If you suspect significant damage to the plumbing system, call a plumber for inspection and repair.
- Lack of confidence: If you are uncomfortable working with plumbing, don’t hesitate to call a professional.
Preventing Future Problems
Regular maintenance can help prevent future shower handle issues.
- Regular cleaning: Clean your shower head and valve regularly to prevent mineral buildup.
- Lubrication: Periodically lubricate moving parts of the valve with a suitable lubricant.
- Address leaks promptly: Don’t ignore minor leaks, as they can worsen over time.

